
Automatically place rivers and lakes on the terrain.
Rivers begin when the contributing area uphill of a point surpasses a threshold value that you specify. The resulting stream flows according to hydraulic principles, seeking the most efficient route downhill and growing in size according to the drainage area served.
You can either have World Machine place the rivers automatically, or you can specify locations that you want to have water begin its journey from.
Lakes occur when the water flow reaches a depression and pools. The Create Water device will always create a lake if a depression exists. If you want to prevent lakes from forming, make sure you use the Flow Restructure device on your terrain prior to the Create Water device to remove any depressions.
How to Use
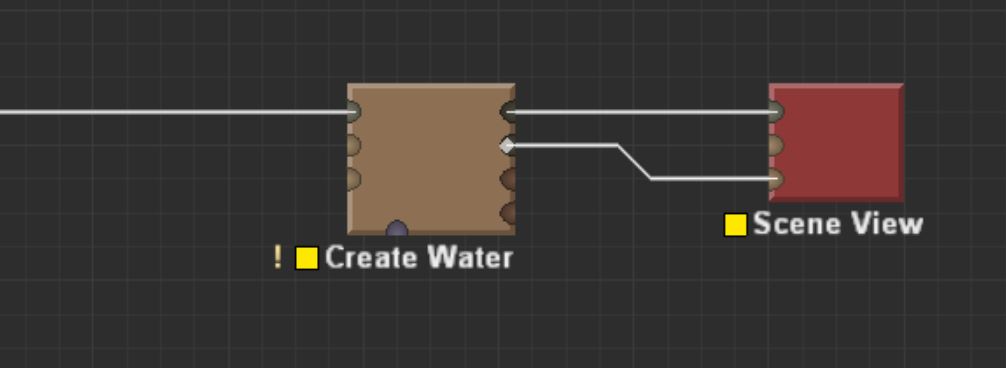
To use the Create Water device, add it into your world and then connect, at minimum, a heightfield into the primary input.
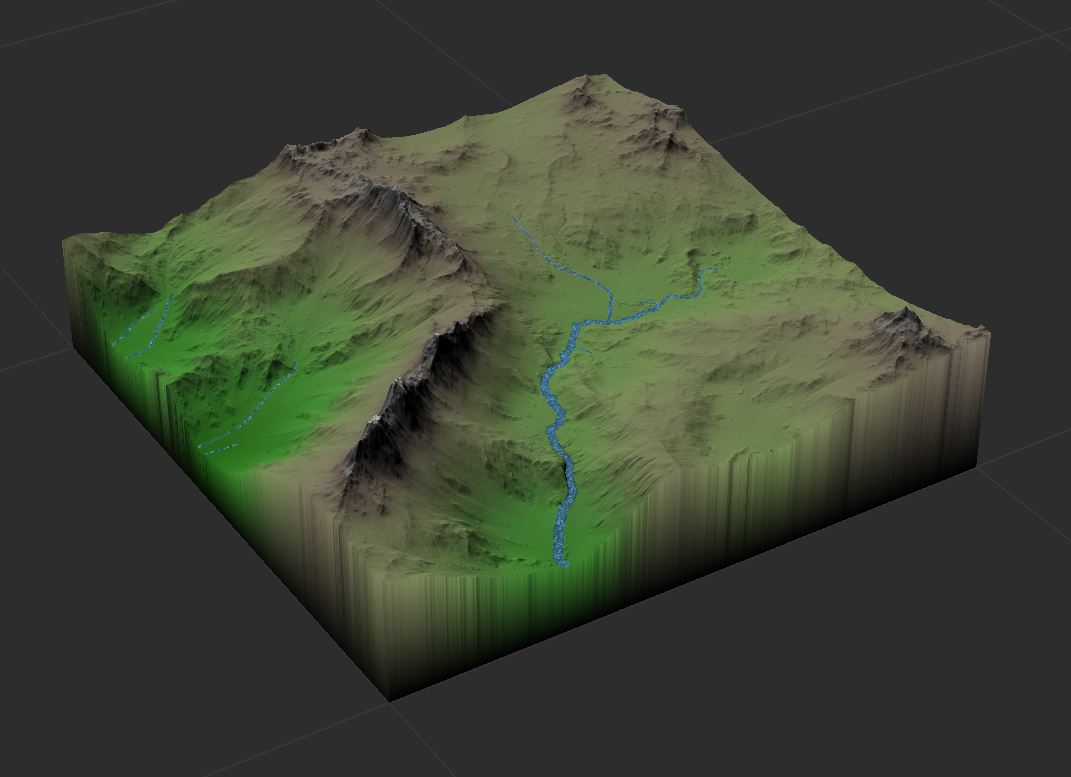
When viewed in the 3D View, you’ll now see all components of the terrain:
Inputs
- Primary Input – The terrain you want to create water upon
- Water Input – If you have existing water data you want to preserve (such as from a River device), wire it into this input. This device will only create water until it reaches an existing water cell.
- Precipitation Input – Provide a map of rainfall. This precipitation map controls how quickly rivers start and grow. Note that lakes will currently always be filled regardless of precipitation amount!
Parameters
- Drain To – water doesn’t accumulate above a drain. This controls what defines a drain:
- Map borders and existing water – water that touches a map border or existing water will cease to propagate.
- Existing water only – water must reach the existing water map supplied as an input. Map borders do not drain and lakes may exist against a map border.
- Headwater Locations
- Automatic – rivers will begin naturally based upon the terrain and precipitation maps provided.
- Specified – Rivers will only begin from locations you have specified.
- Channel Head Area – Drainage area needed to initiate a channel, in square kilometers. This is further modified by your precipitation map if supplied
- Channel Model – How complex a model of river flow to create:
- None at all
- Single pixel river paths
- Varying width, depth, and speed based on water discharge
- Minimum Water Depth – The minimum depth of carved channels and lakes. If you need rivers to be at least a certain size, this is a useful setting. It also can fix some issues with geometry z-fighting, etc.
- Discharge Scalar – How quickly discharge should influence river size. Higher values will result in larger, deeper, and faster rivers.
- Flow Speed – Adjust the flow speed of the resulting rivers.
- Pin current headwaters – Take the currently-determined automatic river heads and freeze them in place. This ensures that rivers will always start from the same place at various resolution builds, etc.
- Edit headwater locations – Enabled only when Headwater Locations is set to Specified, this allows you to use Layout View to edit the location of the headwaters.
Common Issues
Pocket Lakes
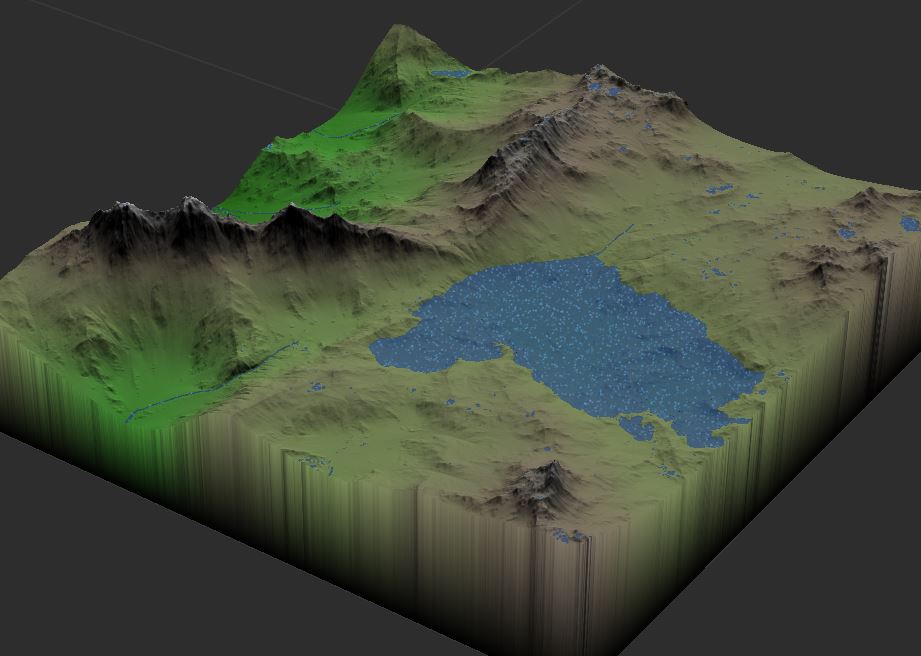
Typical input terrains will have many lakes at all scales.
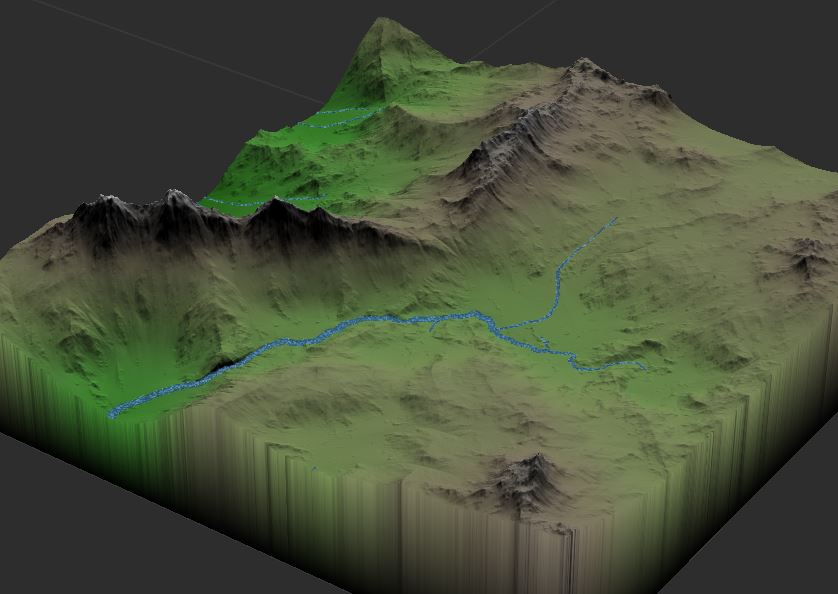
Fix this by adding a “Flow Restructure” device directly in front of the Create water device.
Other Issues
- Set a minimum water depth sufficient to create a proper channel for your rivers.