
Device Workview
The Workview is the most important view in World Machine. You can select the workview from the toolbar, or by pressing F5. It also is the default view when World machine starts.
Your World Machine world is defined by the devices that exist and their connections, and the workview is your view of them.
What are devices?
Devices
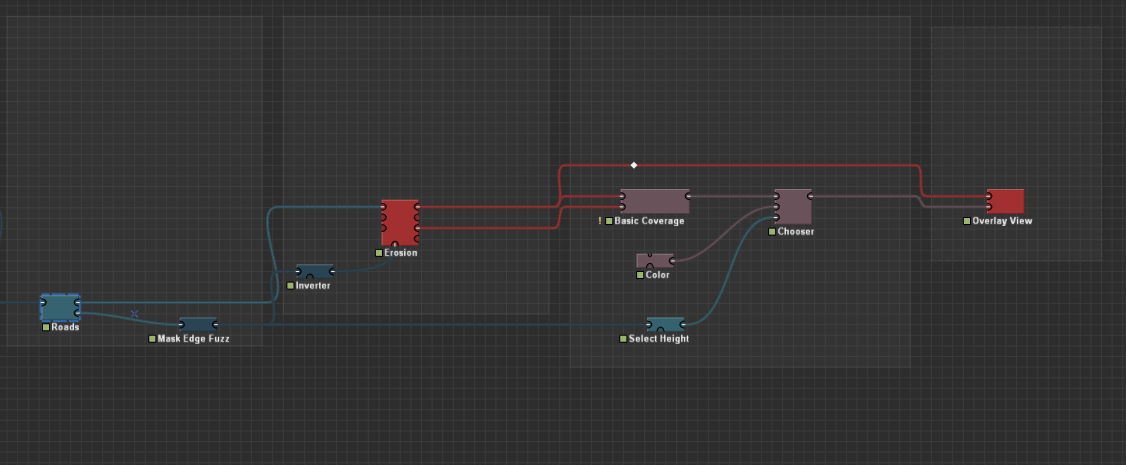
Devices are everything in World Machine. They represent an action or effect. Much like a flowchart, you create a world by connecting together the boxes with lines (wires).
A device has Ports. A port allows data to enter or leave a device. In the device networks, data generally flows from left to right.
Inputs are on the left side of the device, and bring data into a device to be acted on. After the action of the device takes place, the data is then taken out of the device via an output, on the right side. Some devices have a mask input port on the bottom, which controls the area of effect of that device.
There is one other type of port in World Machine, called a parameter port. These are located along the top edge of the device, and allow advanced users to adjust the settings of a device from a different one. Use of Parameter Ports is covered later in the manual.
It is helpful to think in terms of creating, modifying or exporting data. Data is:
- Created by Generator devices
- Modified by Filters and Combiner devices
- Exported by Output devices.
Add a new device
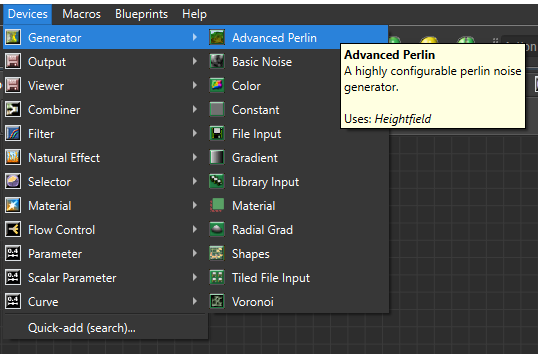
You will constantly be adding new devices to your world, so there are multiple ways to accomplish this. Choose the one that makes the most sense to you. The “Add from Search” option by pressing TAB is the most powerful.
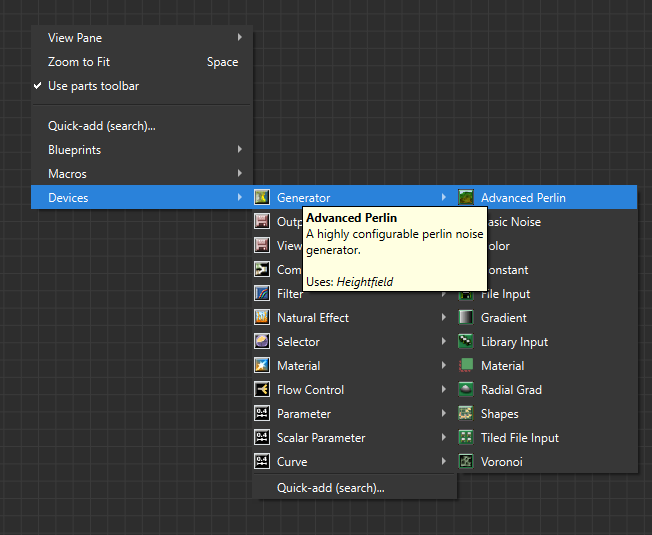
1. Select the device you want from the Devices menu:
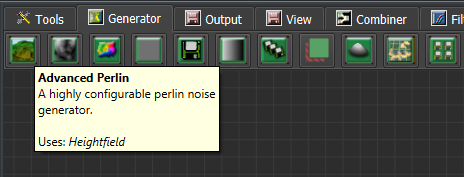
2. Select the device from the toolbar:
3. Right click in the workview to access the context menu
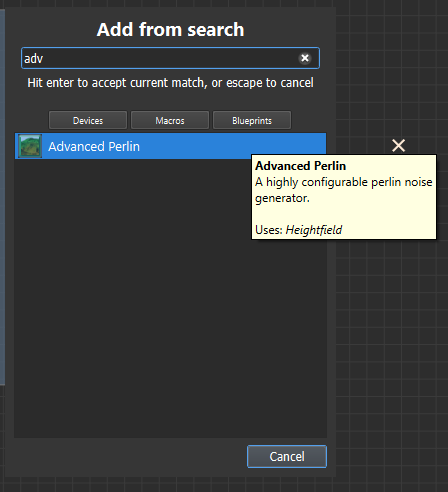
4. Most powerfully, press tab to bring up the Add from Search dialog:
Depending on the method you’ve chosen, it will either immediately place a new device at the spot the mouse cursor was at, or show you a small ghost outline of the device. Click the mouse to place the device where the ghost is shown.
By default, you will add a single device of that type to the world. If you’d like, you can hold down SHIFT to continue adding multiple devices of the same type.
If you click on a device or port, World Machine will automatically connect your new device to that port.
Selecting & Moving Devices
- You may select a single device by simply clicking it.
- You may add another device to the selection by holding SHIFT and clicking on that device. Clicking a selected device with shift held will toggle it out of the selection.
- You may select multiple devices at once with drag-selection: Click in an empty part of the workview and drag a box around your chosen devices.
- Holding down shift while drag-selecting will add the drag-selected group to the currently selected devices.
You may move any selected device(s) by simply clicking and dragging on the device.
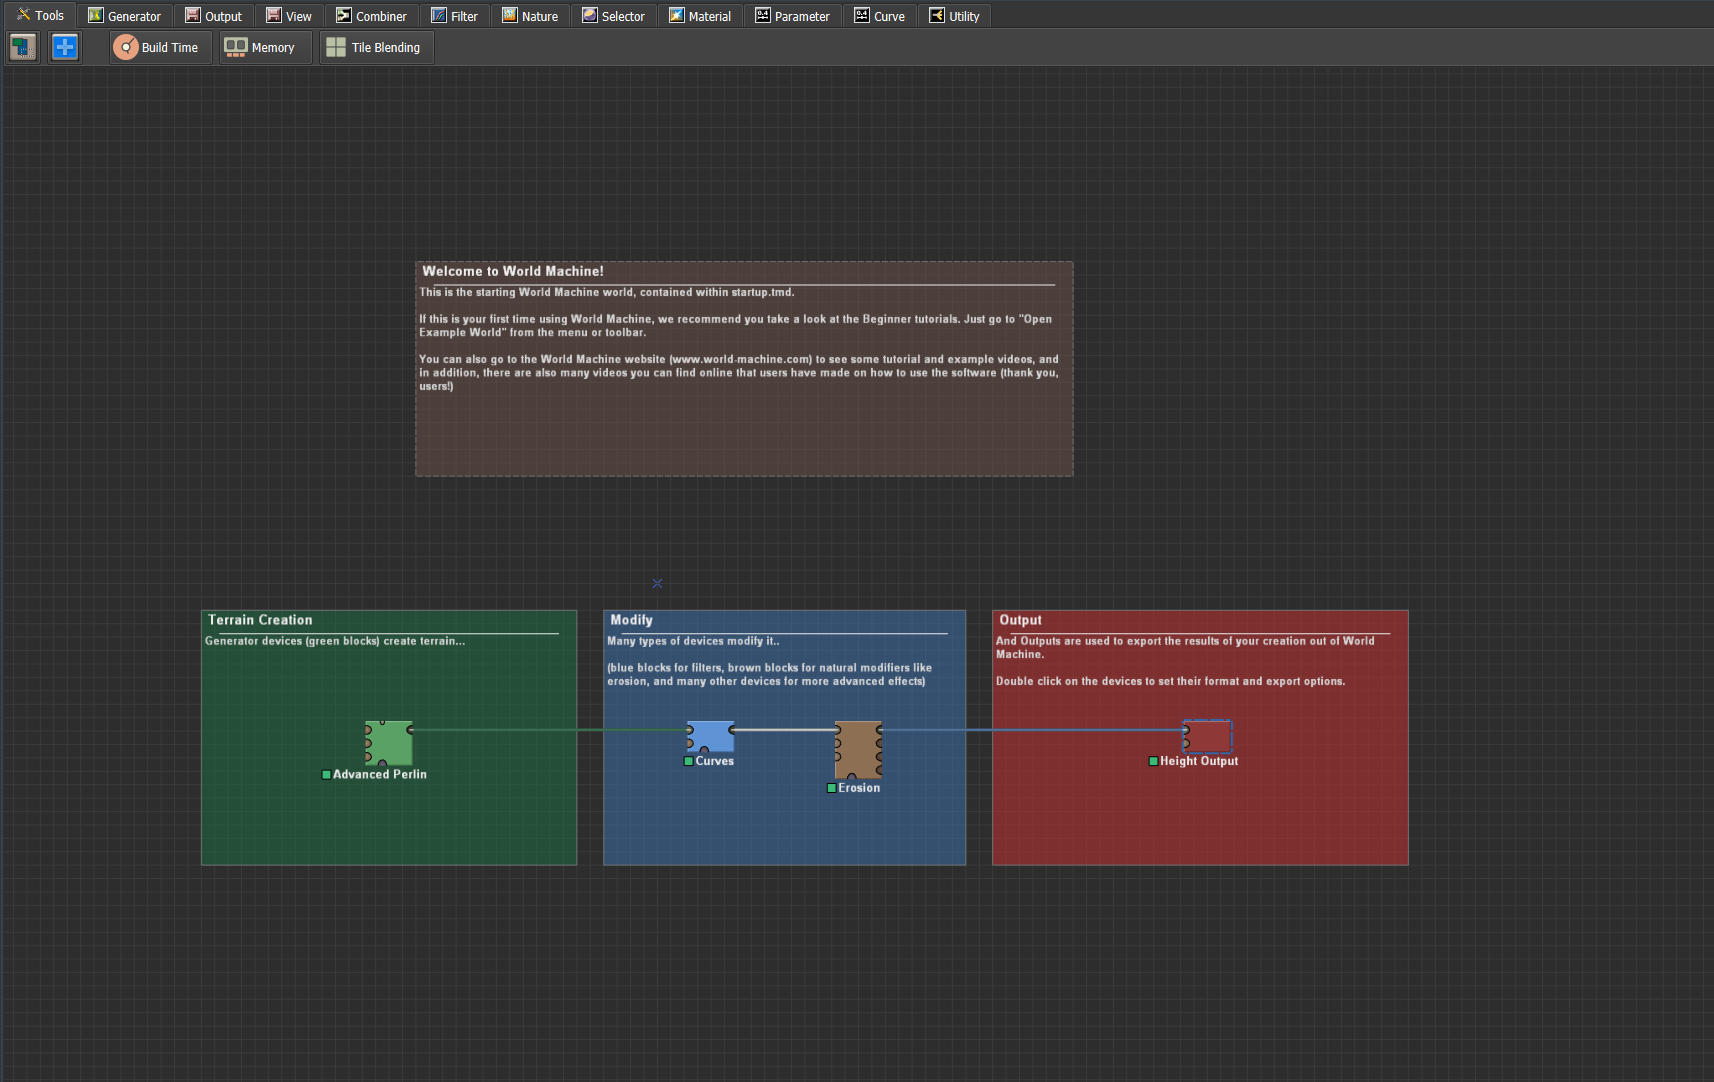
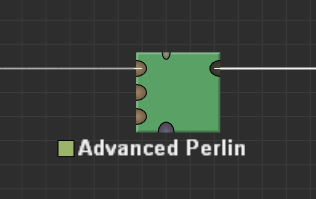
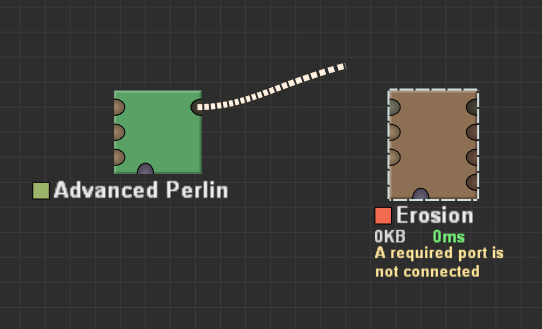
Device Status
Next to the name of a device, there is a small colored box that shows you its status. The status tells you if the device has been built or not, or if it has encountered an error.
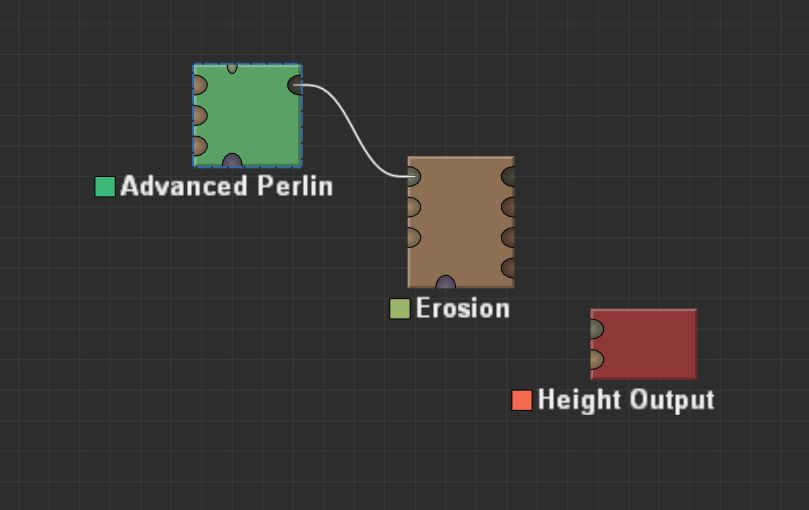
Pictured above are three devices in various build states.
• Green Status: The Advanced Perlin shown above is fully built and properly connected. The status indicator is a deep green. If you click on the device, you can see the highest resolution build results.
• Pale Green Status: The device is properly connected. However, it has not yet been fully built; it is only showing you a preview. The devices are built in the background up to certain resolution, and the color will change from yellow to green as it builds at higher and higher resolution.
• Red Status: The device is unconnected, or there’s a problem. In the image above, the Height Output is not connected to anything, so it cannot function.
How do you connect together two devices?
Wiring Devices
To wire two devices together, you must connect an output port on one device to an input port on another, or vice versa. To do this, begin dragging on one of the ports. A wire will become attached to that port on one end, and the mouse cursor on the other. All ports will disappear except those that are potential connections.
When you release the mouse button over the other port it will create a wire connecting the two devices, assuming that such a connection is allowed.
If you release the mouse button over empty space, World Machine will bring up the add-from-search dialog to let you quickly create a new device and wire it to the port you started dragging from.
Connecting an output multiple times
You can connect a single output port to many different devices, eliminating the need for a Splitter device. An input can only have a single connection, however.
Wire Routing
World Machine has a wire routing feature. By clicking and dragging on a wire, you can add a route point, which is a simple organizational aid.

The wire will run through wherever you place the route point. You can add multiple route points to a single wire. You can move route points by dragging them.
Adjacent routing points can be merged together into a single point by dragging one atop the other. In addition, you may start a new wire by left-clicking on a routing point, or attach a wire by ending a wire drag operation on one.
Right-clicking on a wire will bring up the wire context menu:
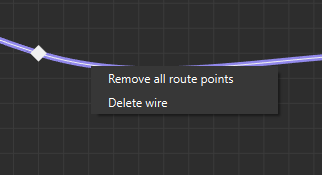
● Remove all route points: This wire is removed from any routing points it runs through. Routing points are deleted unless they are shared.
● Delete wire: The wire is removed from the device world, disconnecting the associated devices.
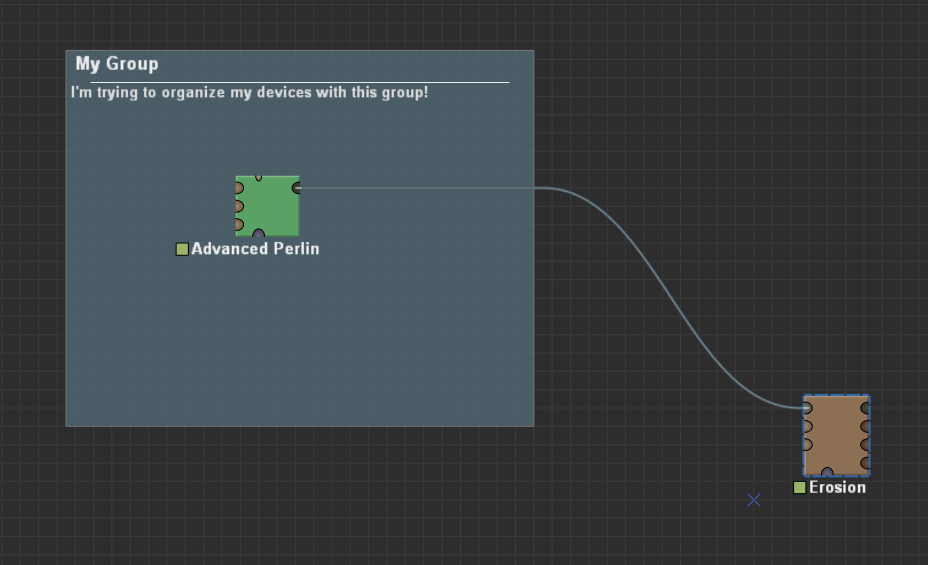
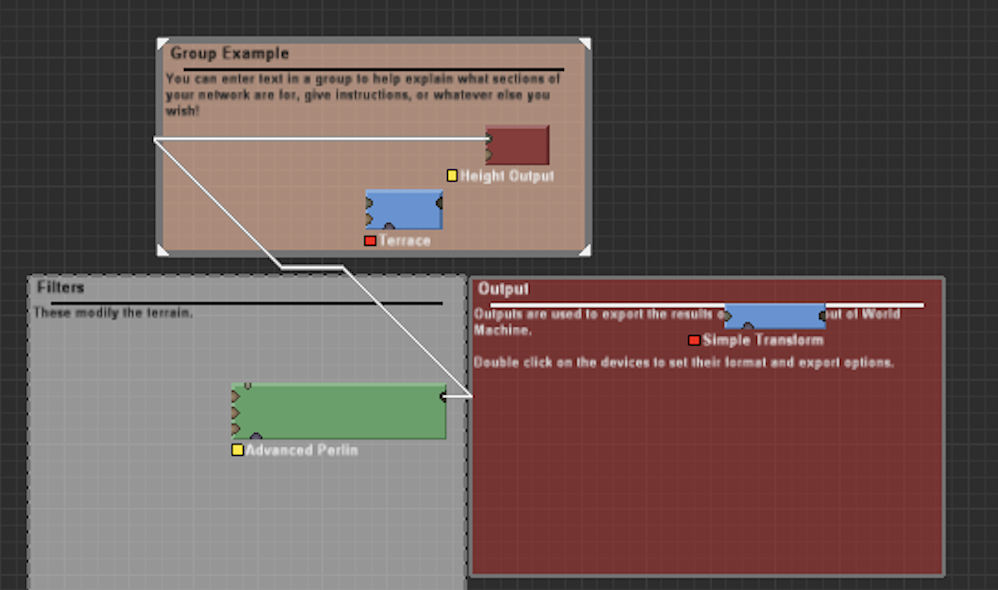
Groups
Groups are a way to logically organize your device network. Groups are named, and you can add a description to help you remember what a particular group does.
Group Creation
To create a group, you have two options:
● Select one or more devices, then right click on them and choose “Group selected devices” from the context menu.
● Use the Grouping Tool to draw a group in the workview (described below)
Group Manipulation
When you move a group, all the devices and sub-groups inside of it are moved as well. When a group runs into another group, it will push that group and any others out of the way.
If you don’t want this bumping behavior, you can turn the group into a floating group, by editing the group (below). It will then not interact with other groups in any way. A solid group has a solid border. A floating group has a dashed border.
Editing a Group
To edit a group’s properties, double click on the group to open the Group Settings dialog:
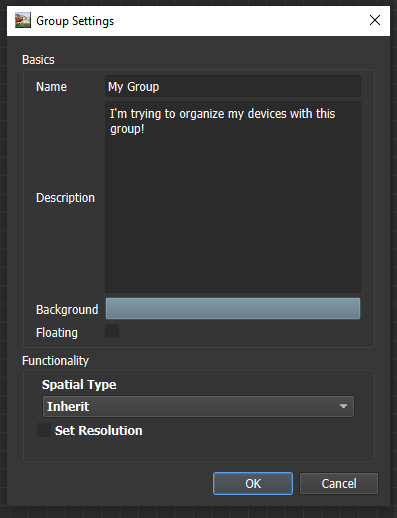
This dialog allows you to set a group’s name, text, RGBA color, and floating status.
Editing a Device’s Properties:
To change the properties of a device, simply double click it in the workview. A dialog will appear that allows you to change the parameters and settings of the device. The Leftside preview will show you the results of any adjustments you make.
Deleting Devices:
To delete a device, simply select it and then choose Delete Device from the Edit menu, or simply hit the Delete key. By default, you will be prompted to confirm the decision to delete the device – if you wish to avoid this prompt, hold the shift key while you hit Delete.
Workview Commands
The Edit menu contains a number of standard commands that are valid within the device workview, including undo/redo and copy/paste:
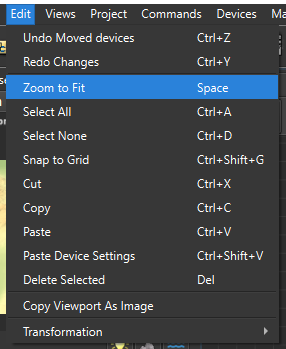
These are fairly typical editing commands that are also valid in other viewports.
Device Commands
You can access a list of device commands by right clicking on any device, or from the top menubar ‘Commands’ entry:
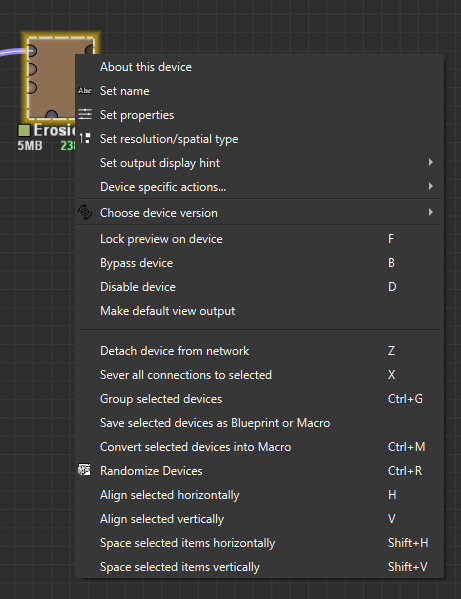
- About this device: A short description of what the device does.
- Set Name: Renames the device.
- Set Properties: Sets the properties of the device (same as double-clicking).
- Set Resolution: Override the project resolution, or make this device localspace.
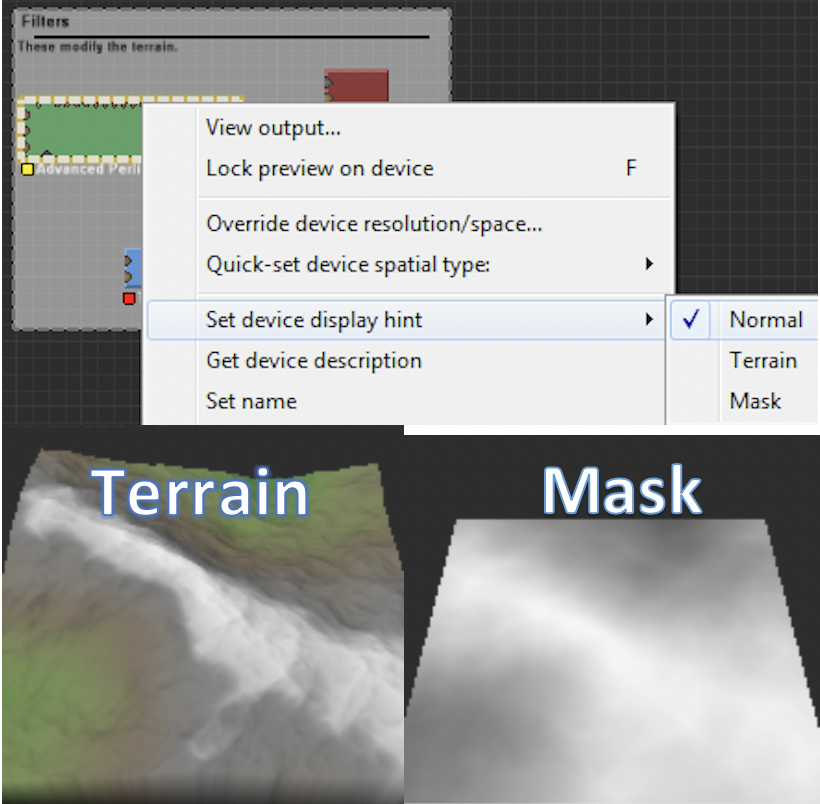
- Set output display hint: Control how WM displays interprets the elevation data. See the Display Hint section below for more details.
- Lock Preview on Device: Freezes the preview on the currently selected device.
- Bypass Device: Bypassing a device temporarily makes the device perform no action. This can be very useful for judging the effects of a device on a network by toggling bypass mode on and off for that device.
- Disable Device: Disables the device. A disabled device is grayed out, and will not be activated when the world is build. Any devices depending on its output will also fail to build. Selecting this again will re-enable the device.
- Disconnect Device: Remove all wires from this device so that it is isolated from the rest of the network.
- Convert Devices into Macro: Converts the selected device(s) to a macro. Any links leading into or out of the collection of selected devices are converted to macro ports. See Chapter 8: Macros for more information.
- Group selected: Create a new group around the currently selected device(s). See Chapter 2.3 below for more information on groups.
Display Hints:
World Machine allows you to provide a hint as to how the heightfield should be displayed, since a heightfield is fundamentally simply a rectangular region of data. Your two choices are terrain or mask. Many devices will automatically flag their output appropriately. Terrain means that the output will be shown as an elevation; mask, as a black and white flat image.
Tools
The device toolbar also contains a Tools section. These are not devices; instead they help you manipulate and visualize your project.

From left to right, they are:
- Create Group – click this button then drag within the workview to create a new grouping of your devices. See the section on Groups above for more details.
- Create Blueprint – click this button and drag within the workview to define and save to your library a reusable component, called a blueprint. Blueprints can be later added to any world, allowing you to quickly add sets of devices together that you commonly use.
Overlays
Overlays let you see at a glance what parts of your world are consuming the most resources. The overlay changes the color of devices and wires according to their resource usage:
The options available are:
- Build Time: Color devices by the amount of time taken to build
- Memory: Color devices by the amount of memory consumed
- Tile Blending: Color devices by their (in)compatibility with tiled builds
Start the discussion at forum.world-machine.com