
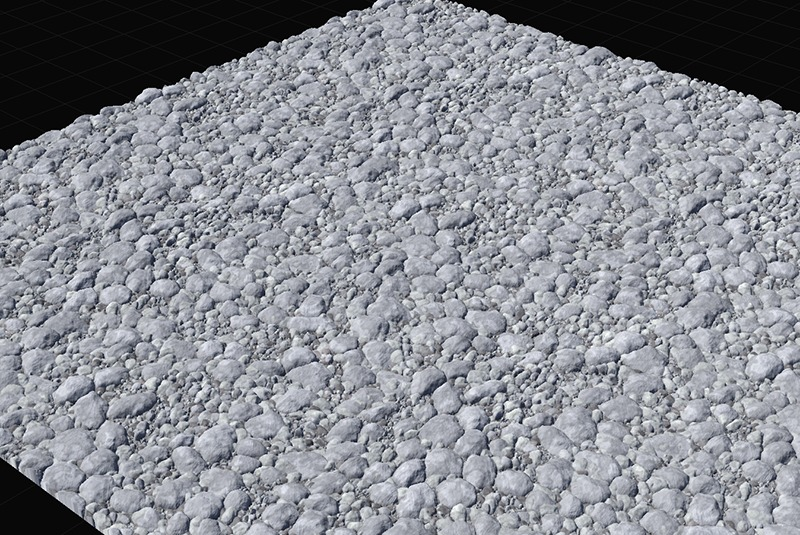
The Material generator defines a physically-based material (PBR). PBR materials use a set of 6 component maps that have a common interpretation across many different 3D authoring apps, allowing you to define a material and know that it will be displayed similarly both inside and outside of WM.
You can create a material from scratch, or load from disk by defining a set of textures for each of the material channels. A full description of how physically based rendering works is beyond the scope of this article. World Machine uses a de-facto standard PBR implementation compatible with most of your other 3D applications. We recommend Marmoset’s great guide to PBR materials for more information.
When to Use
Use the Material device as a texture primitive for all new worlds. You can use a Material just like you would have wired a bitmap graph in previous versions of World Machine. The output of the Material generator is usually blended or layered together with other materials to form a final world material to be displayed on your terrain geometry.
You can export the create material using a Material Output device, which will create all of the appropriate files, or export along with the scene geometry using the Scene Output.
How to Use
You can create a material in either Worldspace or Localspace. A world material provides a unique pixel of material for each location in the world. Localspace materials are assets used as the basis for later tiling and instancing, as well as for being displayed as detail materials using splatmaps.
When creating a world space material, there is some ambiguity and you may be confused about whether your ambient occlusion or surface normal map should be connected to the Material or the Scene View.
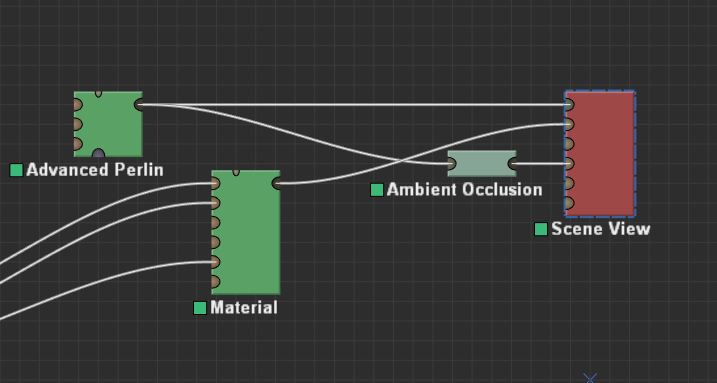
In general, if a thing is related to geometry, it should plug into the Scene View. If it is related to the surface material, the Material device. So for example, ambient occlusion is derived from the surface geometry, so Scene View. Likewise for any high detail geometry normals produced from the Meshify device. However, the surface normalmap and roughness relate to the material and should be connected there.
Parameters
Material Source
First, choose how to create a material. You can either create from scratch by supplying the various input maps to the input ports, or you can define a material by loading all of its channels from disk.
A material loaded from disk will always be in localspace, and must be tiled or instanced to be put into the world.
Primary Parameters
All of the spatial parameters scale any input map supplied. If no map is in use, the entire material will contain the same value.
- Albedo: The diffuse (base) color of the material if no input map is supplied.
- Roughness: The range of roughness values to produce.
- Metal: The ‘metalness’ of the texture.
- Vertical Scale: Specify the range of elevations this material will contain. This is useful both for establishing the proportions of your material, and also by setting the base elevation, you can change how materials interact while height blending.
- Normal Intensity: Use this to adjust the strength of the normal mapping effect. Values less than 1.0 will reduce the intensity of the normal map.
File Parameters
If Material Source is set to “Import”, additional parameters will appear.
Channel filenames: Each of the 6 channels has a filename slot to specify a source for each of:
Diffuse, Normal map, Displacement Map, Occlusion Map, Roughness Map, Metal Map
If you select “Auto-detect from file“, World Machine will do its best to guess all the channel names from a file you select.
There are a variety of import options that modify how the maps are interpreted:
- Diffuse Colorspace: If the source texture is in a particular colorspace and needs to be converted to your project colorspace type, you can specify it here. The default is that WM will never convert the source texture.
- Normal Encoding: There are two standards for normal maps; whether the Green channel encodes a positive or negative Y direction. Choose the same one as your texture source.
- Normalize displacement: Normalize the displacement values so that they always span the entire allowable range. This is useful when you want to precisely control the vertical placement to make sure it heightblends well with other materials.
- Invert roughness: Some PBR systems use a gloss map instead of a rough map. If so, the texture should be inverted before use by checking this.
Ports
Each material channel has a corresponding input port that you can use to provide data if you are not loading a material from disk. If you are sourcing data from disk AND provide data, the port will override the disk contents.
Each port corresponds to the parameter of the same name.
Tips and Tricks
Materials should translate mostly intact to your PBR-aware destination application, allowing what you see in World Machine to be much closer to your final results.
When modernizing older worlds to Artist Point, it can be very helpful to just create a single material and feed your final diffuse texture into that input. A number of the example files demonstrate this. However, it is generally more powerful to define each texturing component using its own Material (a material defining rock, dirt, etc) and then layer/combine them, allowing for all of the lighting parameters to vary, not just the color.
When constructing your material, the diffuse channel represents the albedo (total reflectance) of the surface, and so it is important that it match the kind of material you are creating. This blog post (external link) has a helpful chart.
Start the discussion at forum.world-machine.com