
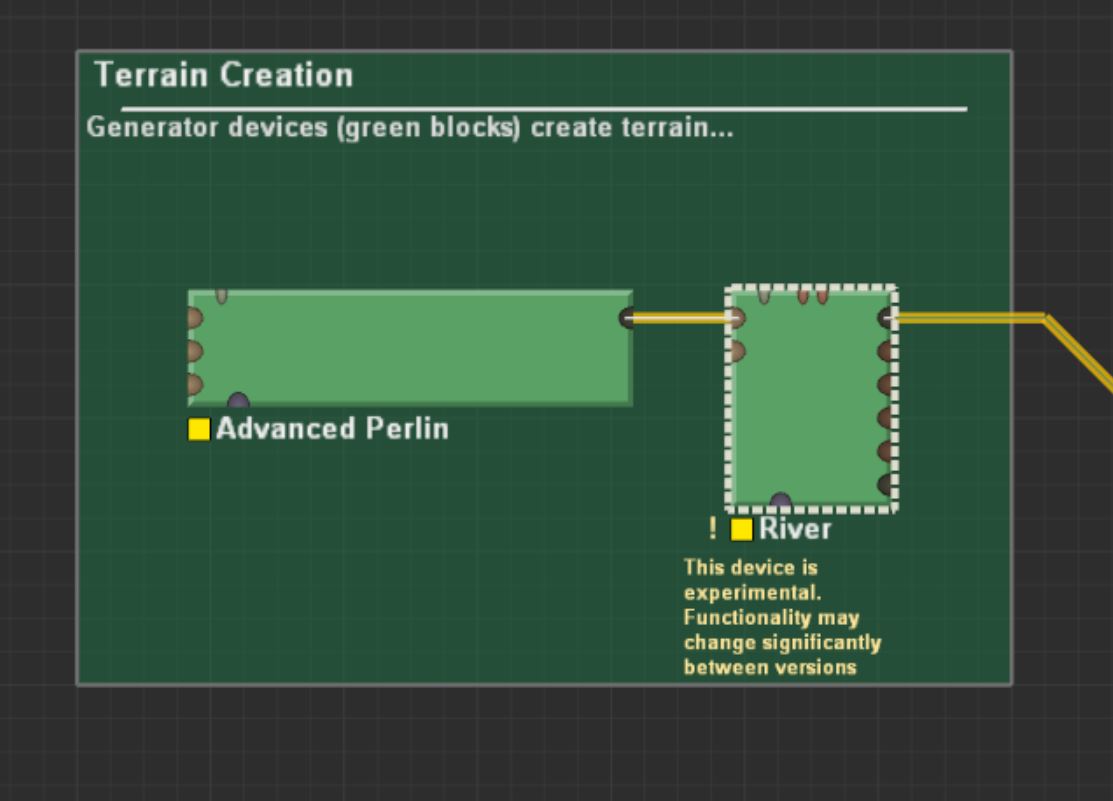
The River Device lets you manually insert rivers and their full river valley into a terrain.
You can create networks of rivers that feed into each other; each defined river segment (reach) can have all of its parameters set separately.
Use this device to specify major rivers in your world that you know you want to have in a certain location. If you want rivers to be automatically placed on the terrain, look to the Create Water device.
Creating and Editing Rivers
Add a River device into the device workview, and connect your existing terrain into the “Terrain Input” port.
Much like the Layout Generator, the River device functions completely visually; when you double click on the device, you’ll be cast into the Layout View, where all work on Rivers is performed.
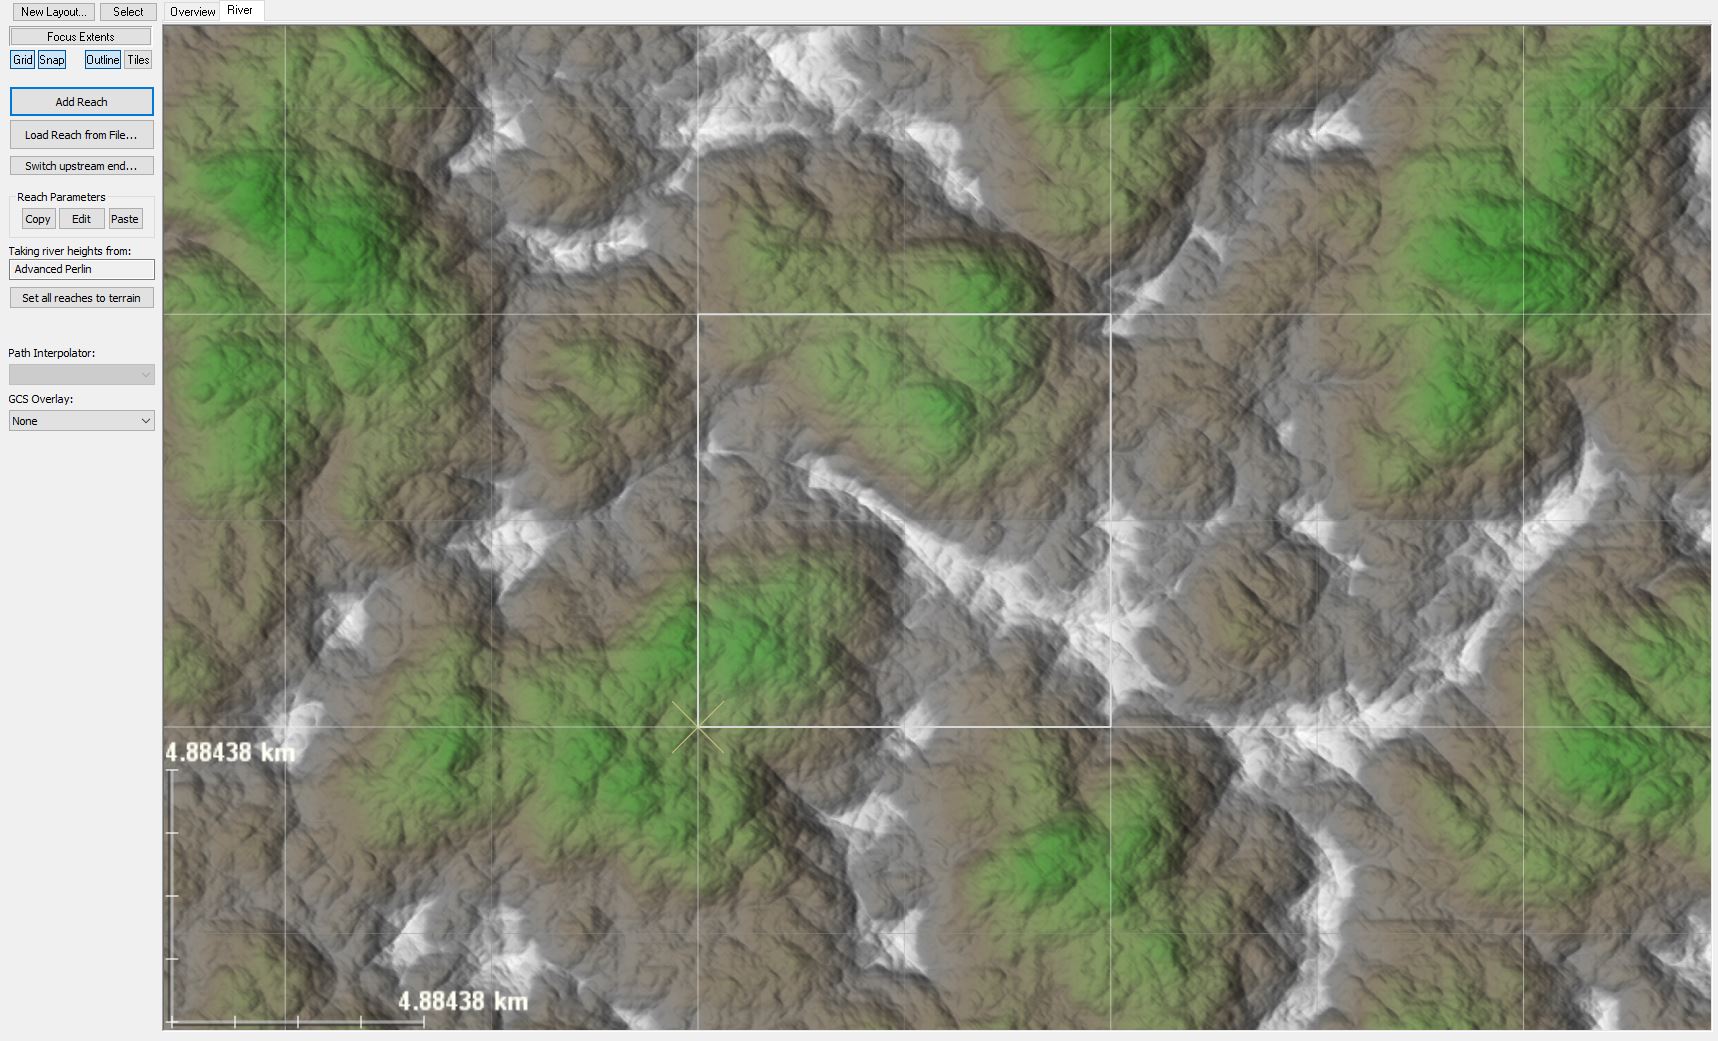
In the image above you can see some buttons and parameters on the left-side of the view that apply to all rivers defined within the current River device. The center of the view contains your scene, and you can visually see all the rivers you’ve created.
Add a river
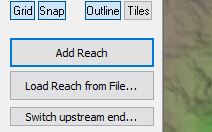
First, click the “Add Reach” button in the left side panel:
Sketch your river course in the viewport by pressing and holding the left mouse button while moving the mouse. When you are finished sketching, your river course will appear:
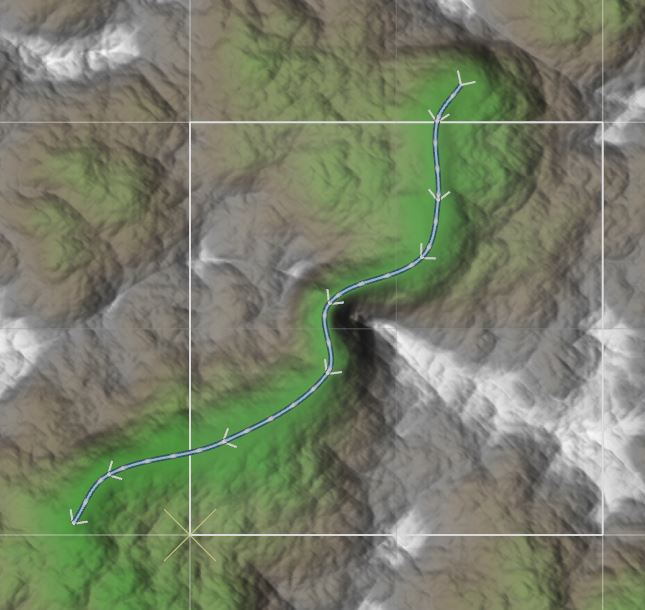
If you click-drag any part of an existing river, you will add a new vertex at that spot to let you control and position the river course.
Setup your river
By default, the river will be fairly uninteresting; it will have straight-sided banks and smoothly interpolate your drawn path.
Double click on any river to edit its properties. You’ll see a dialog something like this:
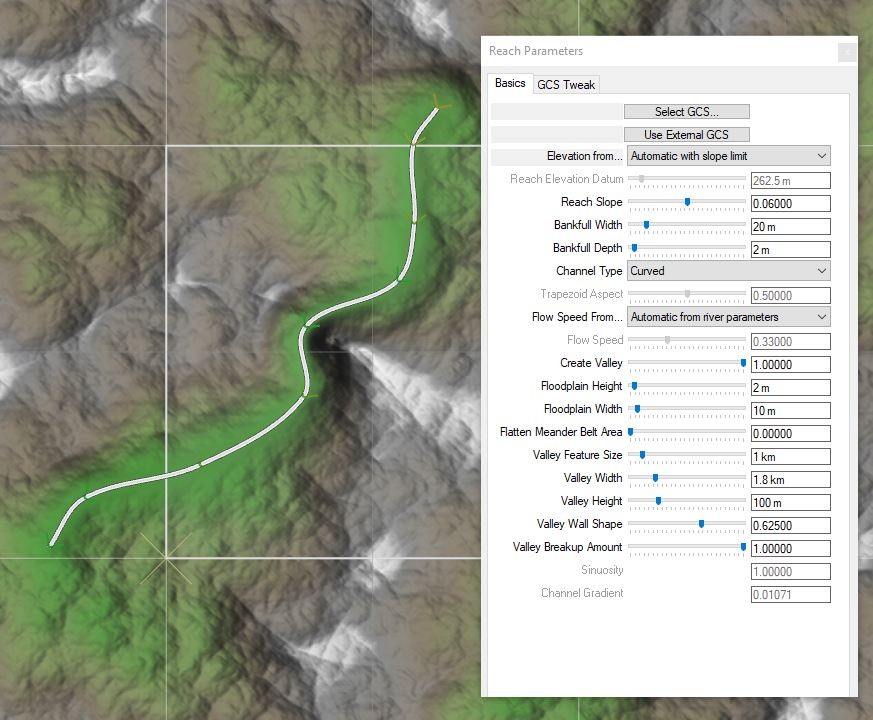
That’s quite a list of parameters! Luckily, many of them only apply to certain situations; you’ll find yourself consistently adjusting only a handful.
Basic parameters
GCS Control
The GCS (Geomorphic Covariance Structure) describes the character of the river, be it a sinuous river meandering through a lowland valley or a tumbling mountain stream. Selecting a GCS changes how the river meanders as well as the variations in width, depth, and structure. Read more about GCSes…
- Select GCS…
Select a character for the river in question from the library of saved GCSes. - Use External GCS
Remove any selected GCS and use the default river GCS. This is either a completely neutral river character, or a GCS provided to the River device via an input port.
Reach Elevation Parameters
- Elevations from…
Control the vertical placement of the river. You can either specify the base elevation of the river (known as the datum) and the slope, or you can let the slope be set by the underlying terrain. World Machine will always prohibit the river from flowing uphill.
- Automatic with slope limit: The river elevation is determined automatically from the input terrain, but the river slope will never be greater than the slope specified in “Reach slope”
- Automatic from terrain: The river elevation is determined automatically from the input terrain and can have any slope. This will make the river follow the terrain relatively closely.
- Linear slope: The elevation of the river is completely determined by the elevation datum and slope you specify.
- Reach Elevation Datum
The lowest elevation of the river reach in question. Can only be set if “Linear Slope” is specified above. - Reach Slope
The slope of the river downhill. Higher values produce a steeper river. In ” Automatic with slope limit” mode, this is a maximum possible slope rather than an exact value.
Channel Parameters
These values control the size and appearance of the river channel
- Bankfull Width
The average width of the river in meters. This very important parameter controls much more than just the size of the river.
Many GCS-related variations are based on the bankfull width, as in nature these parameters depend on the river size. For example, the size of the river meanders will grow as the bankfull width increases. - Bankfull Depth
The average depth of the river in meters. - Channel Type
The cross-sectional profile of the channel- Curved. This is the default choice, and provides a roughly parabolic-shaped bottom to the channel that migrates back and forth with the thalweg (deepest part) of the river.
- Trapezoidal. This creates a box-shaped channel with slanted sides that does not migrate back and forth.
- Trapezoid Aspect
How slanted the sides of the box are when a trapezoidal channel is selected. An aspect of 0 creates a box, while an aspect of 1 creates a triangular shape. - Flow Speed From…
Water in world machine has a velocity as well as a depth. This controls how the flow speed is determined:- Automatic from river parameters. The flow speed will be based upon the gradient of the river as well as other parameters chosen.
- Specify manually. Use the Flow Speed slider below to set the speed of the river.
- Flow Speed
If enabled, control how fast or slow the water flows in this river.
Valley Parameters
The next and largest set of parameters control what kind of valley the river channel creates around itself. Many of these parameters interact with each other and it will often require some tweaking to create what you want.
- Create Valley
This important parameter controls how strongly to embed a river valley into the terrain. A value of 0 creates no river valley. - Floodplain Height
A river may optionally have a floodplain area (in nature, an area defining the flowing area when the river overtops its banks). This defines how high above the river channel the floodplain climbs to. - Floodplain Width
The width of the floodplain around the river. The floodplain will exist even if the valley does not. - Flatten Meander Belt Area
This pulls the floodplain/valley wall away from the bends of the river. This allows the river to freely meander through a valley bottom instead of being entrenched. - Valley Feature Size
Control the scale at which we blend the river into the terrain.
- Valley Width
Control the width of the generated valley
- Valley Height
Sets a minimum depth of the valley below the existing terrain. Note that higher areas of the terrain may well be deeper than this. - Valley Wall Shape
Tweak the cross-sectional shape of the valley wall. Low values create steeper-sided walls, while higher values produce broad U-shaped valleys. - Valley Breakup Amount
The power of the fractal noise used to blend the generated valley into the existing terrain.
Tips and Tricks
There’s a lot to control in the River device, and we’re continuing to refine and make easier to control each aspect of the river. Here’s a short list of things to know about the river device:
- Your river will have a very different character depending on which River GCS you select to use for the river.
- Sharp bends in the river valley may sometimes cause odd “kinks” or cliffs in the resulting river valley. These are unsightly but can be effectively removed by eroding the resulting output (See the article on Erosion and River Systems)
- You can view the water produced by connecting the water output to a Scene View device!