Modern (build 4000+) versions of World Machine have some interface changes compared to the legacy versions of WM (Build 3029 and below). The vast majority of the UI has been kept the same, but necessary changes and improvements have happened.
This article is concerned with changes that might be confusing. You’ll learn why it changed and the new workflow for that task. If you are following a tutorial or coming from the previous version, this should help!
We won’t cover here any of the huge new features and changes in the LTE version (background previews, quick add…. you get the idea).
Leftside Panel
The left panel has been streamlined and enhanced in the new user interface:


Some items have been made more compact, but are the same:
- The large “Flat / Shaded” buttons are now the global lighting toggle (light bulb)
- The “Scene Water” toggle is now the rightmost global toggle (3 wavy blue lines)
- The camera adjustments are now inside the “view settings” button (camera with a gear atop it icon)
A few options have been moved or removed:
- Set Terrain Color is usually only changed occasionally, so it has been moved to the Project Settings. Go to Menubar->Project->Project Settings ->General tab.
- The device list now always sorts devices into their parent groups, so you cannot change the sort type.
- The “Toggle Main View” button is removed as it is superfluous in the new viewport system.
Views
Workview
The device workview is mostly unchanged from 3029.

There are a few small differences in the workview toolbar:
- You can no longer change the toolbar sorting to “Datatype” tabs; the devices will always be sorted by their device type.
- The Favorites tab has been removed. World Machine now automatically tracks your device usage and the Quick Add/ Add from Search dialog will show you your most commonly used devices at the top. In the future, there may again be a way to star/favorite particular devices.
In addition, when adding devices, the default is now to add only a single device of a given type. You can continue to add more than one device by holding SHIFT as you click to add the device to the world.
Layout View
The Layout View has undergone the largest changes in the LTE version of World Machine. All of its previous functionality is preserved, but has been reorganized to be more consistent, and to clear the ground for planned future improvements.
The Layout View had many (too many…) purposes in previous versions of World Machine. You used the view to edit vector drawing shapes, add new devices, scroll around the infinite fractal world, and define your world extents. These functions have been separated out in the LTE version.
In ‘Mt Rainier’ and beyond, the Layout View is now the Visual Editor. it is concerned only with editing the current device, including Layout Generators (Shapes). All other function has been moved or refactored. Let’s take a look in detail:

Items Changed
These are convenience shortcuts that have been changed or removed in the redesign.
Instead:
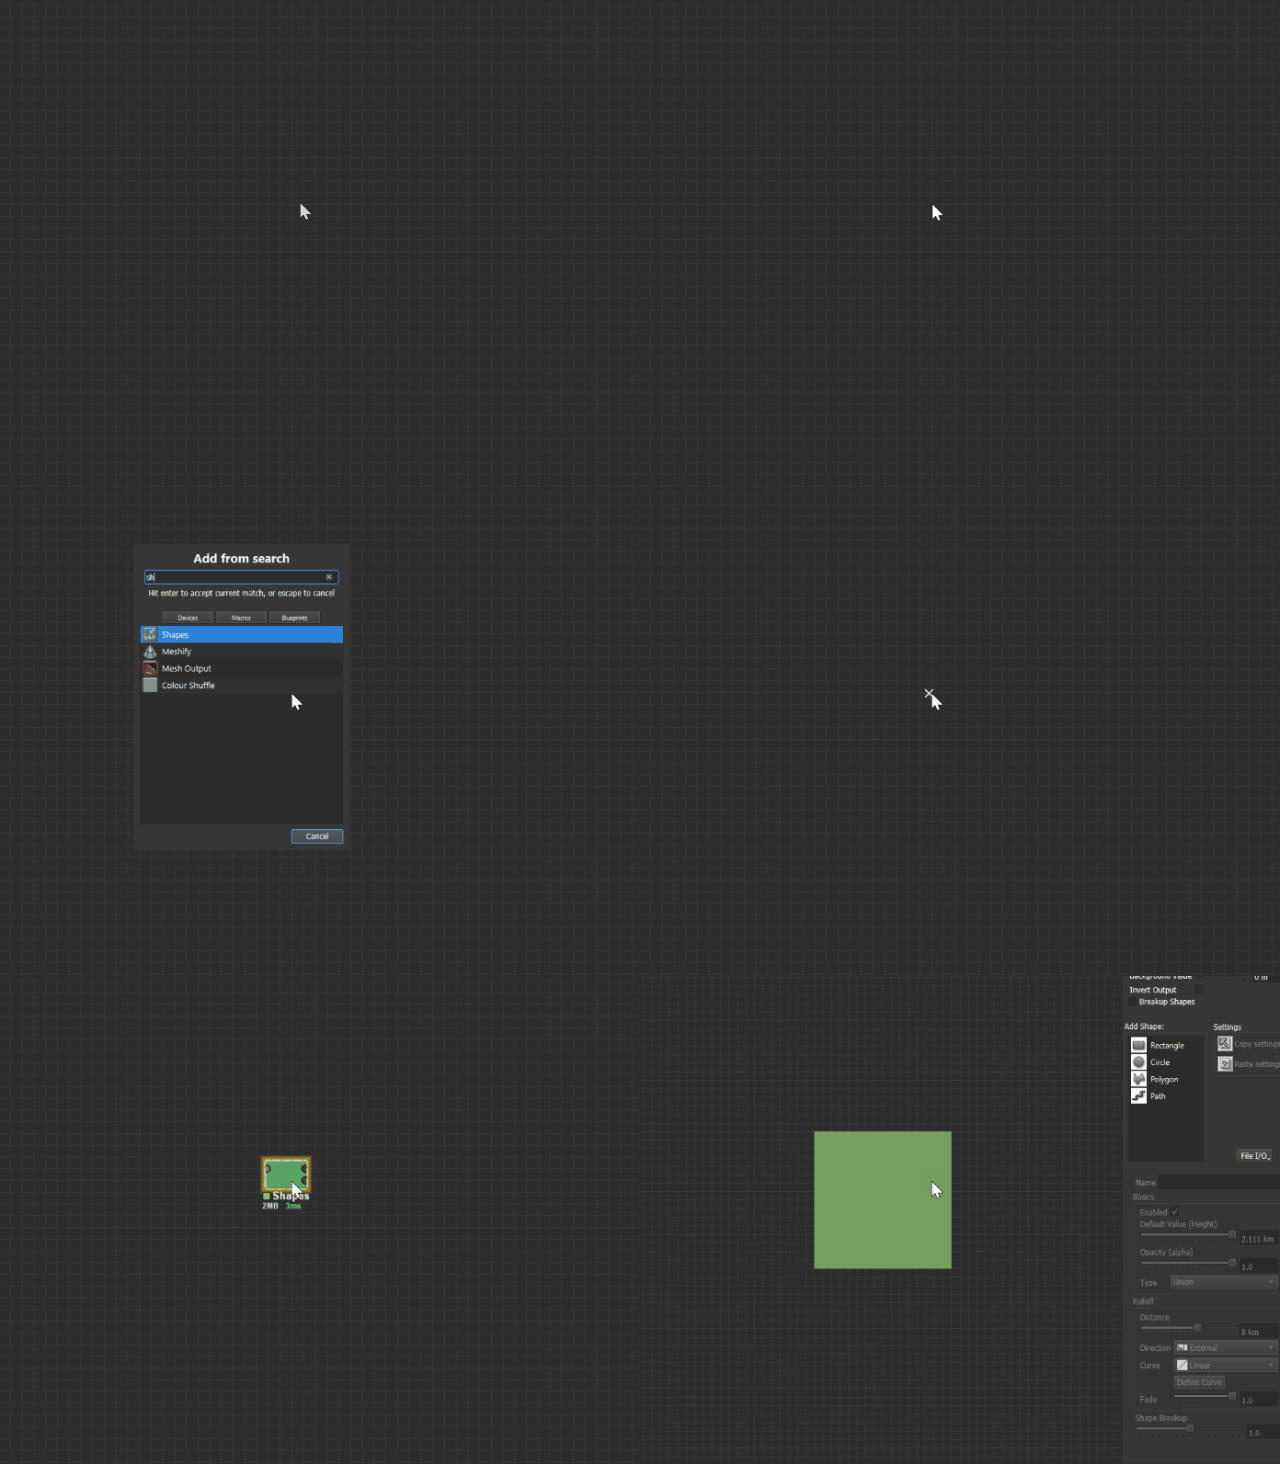
In the Workview (F5), add a Shapes device:

Press tab to use the Add From Search function. Type enough of the device name so that WM identifies it, and hit enter. Double click on the shapes device to edit it.
Instead:
Select the device you want to edit in the workview, or from the device list in the leftside panel.
If you want to see the result of one device while editing a different one, lock the preview to the results you wish to see, just like any other device in World Machine.
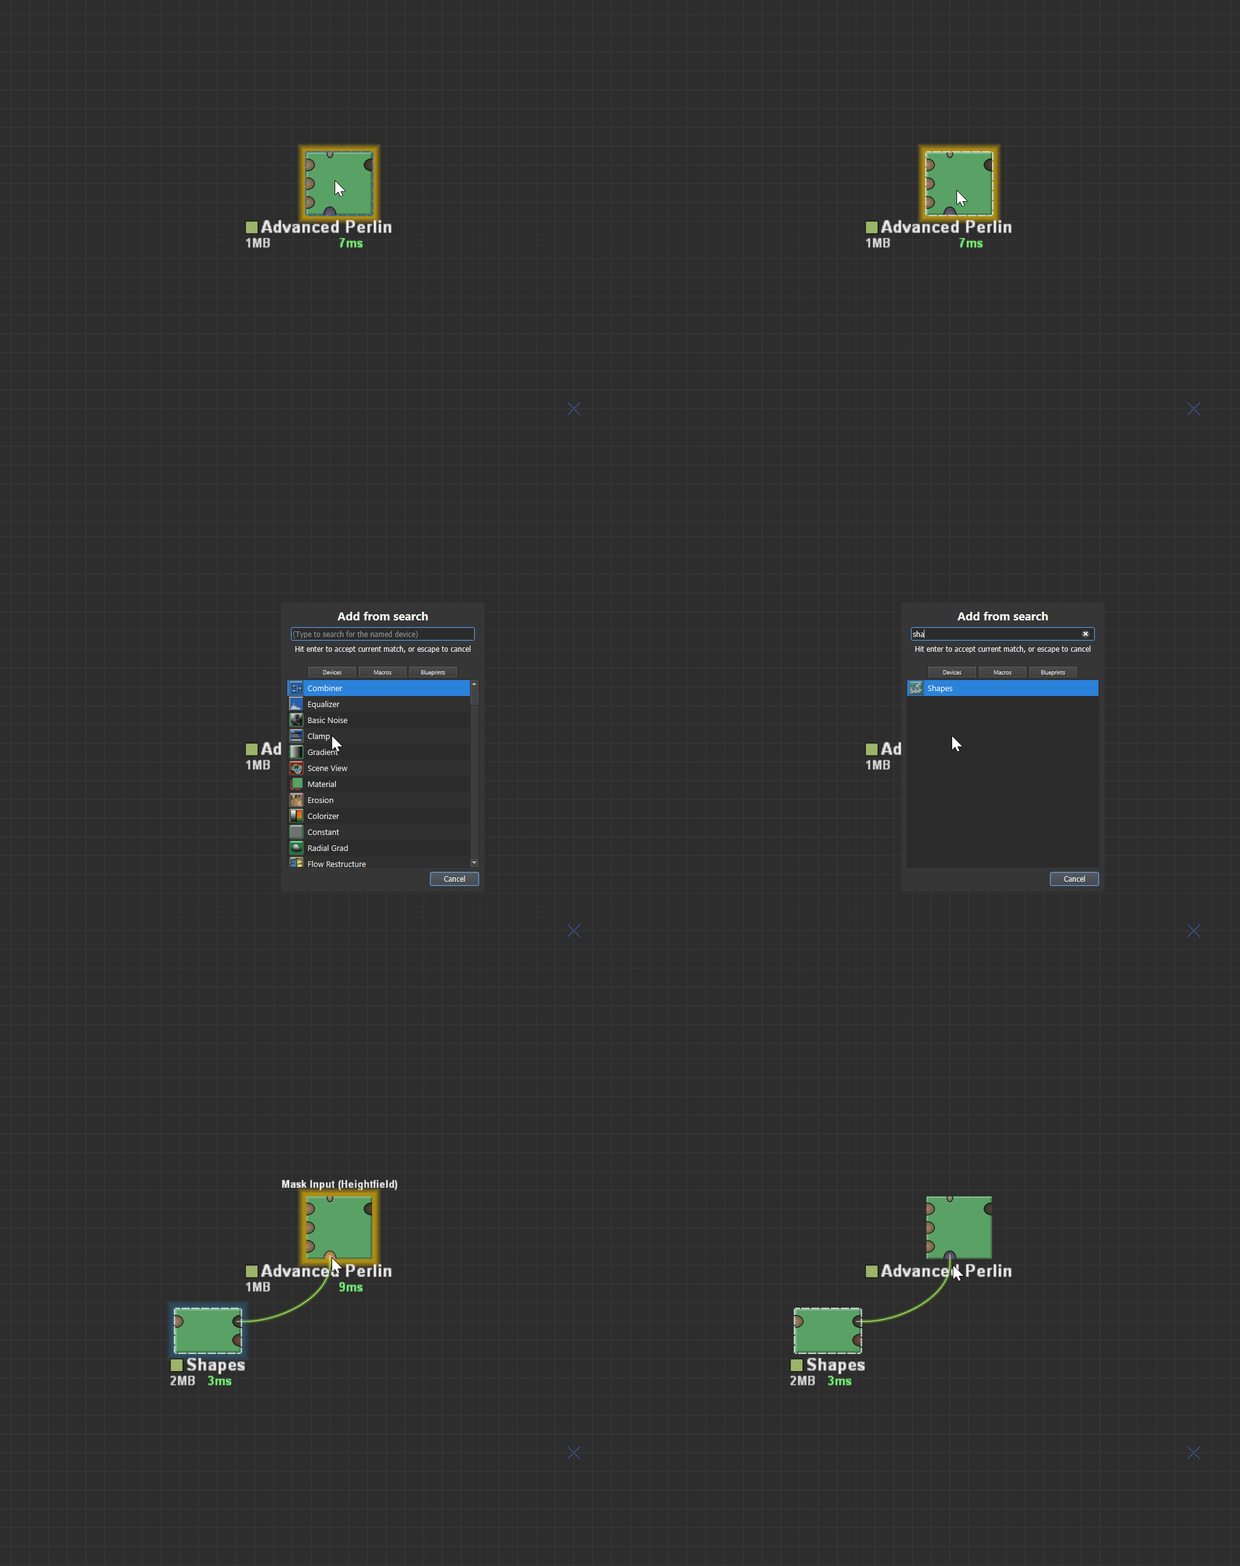
Instead: Add the Shapes device yourself in the workview. Put the mouse cursor over the mask input of your chosen device and hit tab to use the Add From Search function. Type enough of the device name so that WM identifies it, and hit enter. WM will wire the shapes device into the mask input automatically. Double click on the shapes device to edit it.

Moved to the Explorer View:
There were a number of functions relating to exploring your world and defining the render extents for your project. These don’t make sense in the context of editing a device, so have been moved to the Explorer View.
Instead: Press F7 to go to the Explorer View.

Explorer view lets you, well, explore your procedural world. It also contains all of the render extent setup features that were previously in the Layout View. Access these by entering “Scene Setup” mode, the second icon at the top of the view that looks like a cropping square.
Implicitly Available
There was a separate “Device Editing” mode that allowed some devices to be adjusted graphically. The Create Water device is a good example of one of these. It was cumbersome and often hidden how to actually edit a device in this way.
In ‘Mt Rainier’ and above, all devices now use the same style of visual editing. Whether a Shapes device, a River device, or simply moving the location of a Gradient, you can edit it by selecting that device and going to the new Layout View.
Device Parameters
Most devices have the same parameters as before. However, Mt Rainier and beyond allow devices to hide advanced parameters away until you need them. This helps ensure that the most important parameters are obvious.

If you want to edit one of the more advanced settings, simply click the box highlighted above to show all available options.
Something Else?
If there’s any other changes that you find confusing, leave a comment below and we’ll add to the guide!

What happened to the Universal Splitter? It is still in the documentation but not in my version 4031.2
@Lacota May I know your use case? You can connect one output to as many devices as you want directly, I guess that may be the reason it was removed and no one noticed lol!
It’s for organization. It’s an interface layer between modules. I guess I can use a checkpoint but I’m not wanting to cache my module output.